1920s Fashion: Inserting The Ribbon Piping
1920s Fashion
•
18m
In this video, I have begun piecing my 1920s Mary Brooks dress together.
The next step is for me to add the ribbon piping to the sleeves and bodice and I am going to demonstrate how to apply it to a straight edge and inside corner to get a nice even reveal. Once the piping is applied, I am also going to show you how to inset the bodice sections into the decorative panel.
For the ribbon piping, you will need:
Two 5 1/2” lengths of 3/8” wide ribbon for the sleeves
Two 6” lengths of 3/8” wide ribbon for the vertical edges of the panel
Two 7 3/4” lengths of 3/8” wide ribbon for the upper horizontal edges of the panel
One 16 1/2” length of 3/8” wide ribbon for the bottom edge of the panel
Be sure to cut the ribbon as specified as the lengths are integral to
the pattern.
The simple little detail of this ribbon piping will beautifully frame the embroidery on decorative panel. Let's get started so you can see it for yourself!
Up Next in 1920s Fashion
-
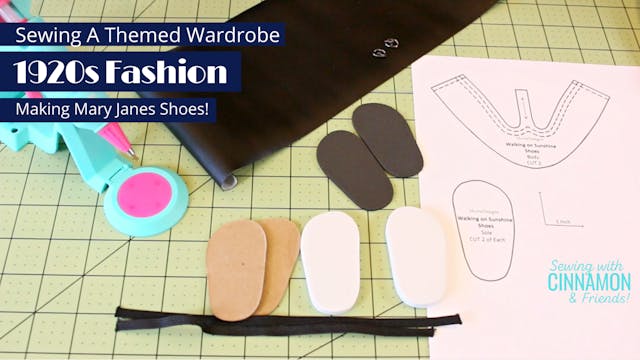
1920s Fashion Mary Janes Shoes Sew-Along
Follow along as I show you how to make the perfect shoes for your 1920s outfit! This classic shoe design was introduced in the twenties and has been a classic for years to come!
The pattern that I am demonstrating is the Walking on Sunshine shoe pattern for 18" dolls. You can find it at Pixie Fa...
-
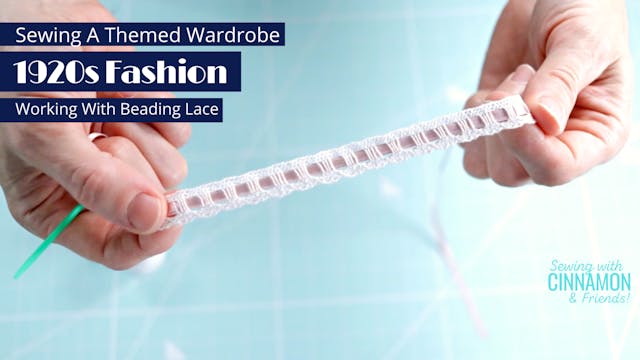
Inserting Ribbon in Beading Lace
Hi everyone, I am Shari Fuller from Thimbles and Acorns. For my 1920s Girl's Combination Underwear,I found this pretty 1/2” wide cotton cluny beading lace that came threaded with a rather nondescript white ribbon. Because the underwear design is rather plain, I wanted to dress the lace up a bit b...
-
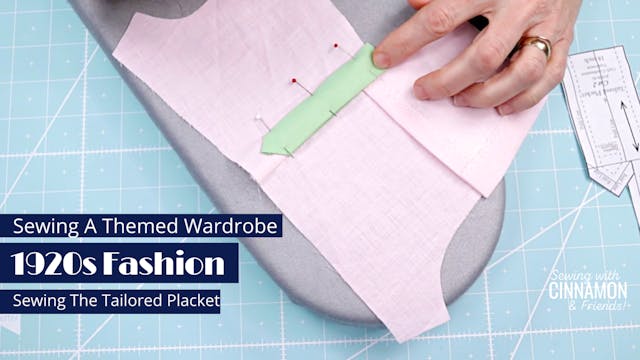
Sewing A Tailored Placket In a Seamline